Saturday, December 20, 2014

Got it together but not for a while

Finally we settled in our new house. Can't say I'm done with our new IKEA kitchen but it is usable now. So it's time to have some hobby fun and play with my amp and speakers.

Finally I put all six channels together with BeagleBone Black and two switching power supplies - one for power amp and one for the BBB. Also I got very sexy VFD display from eBay for a very good price so I'd like it to show some useful information very soon.

Standard Debian seems to be a good choice but I found two problems with it (updates a pretty frequent so the latest one may work better):
1. it can't find my USBStreamer if it was reconnected
2. MPD playback has noticeable drops.
Then I found a great distribution - Voyage MPD. It is outdated but it doesn't have these two problems I mentioned above. But this distribution would not work for folks who want to use HDMI output - HDMI itself works but HDMI audio output is not available.

So I mounted my NAS, set it all up and finally got my music played without drops and pops!

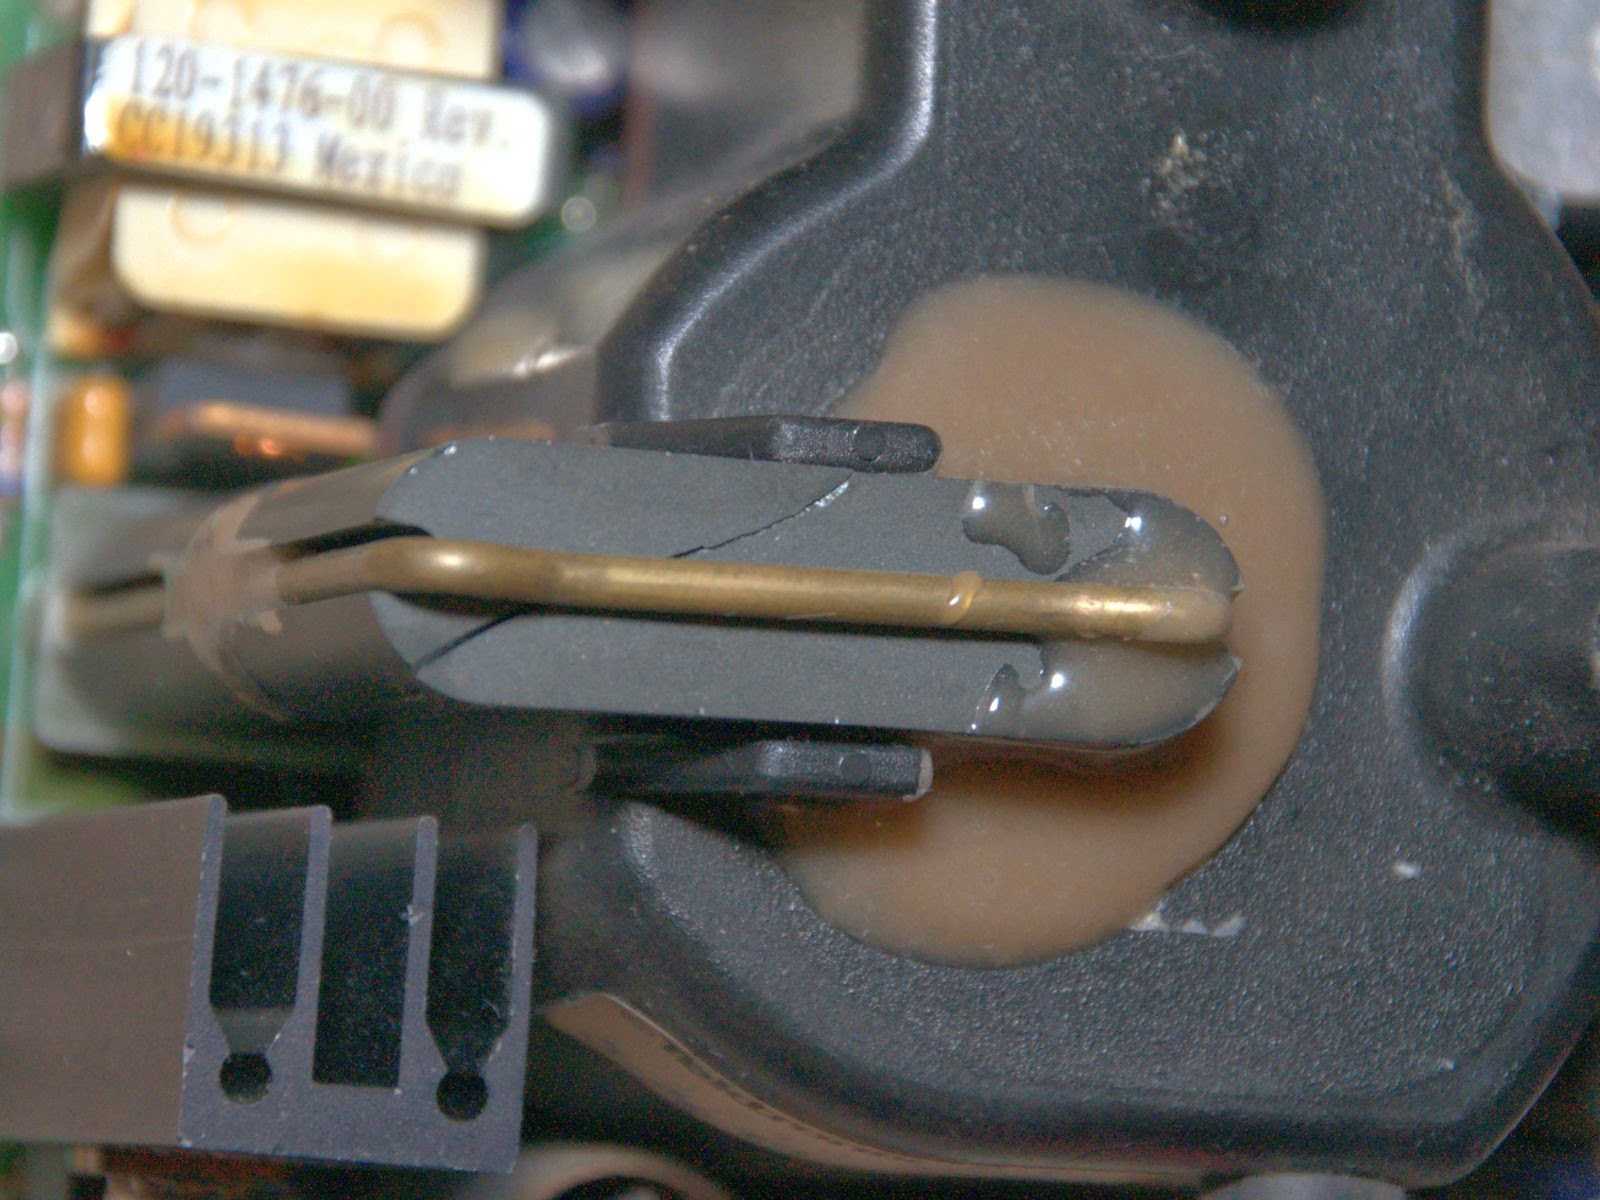
But my happiness did not last for long. I wanted more. So I tried to put some coefficients into loudness biquad... And got my tweeters fried in a faction of a second. As well as one TAS5631B chip.  Woofers and midranges survived.
So I got a very good lesson - always disconnect speakers when you play with biquads! And use a scope first!

Thursday, October 2, 2014

Привет аудитории!

Как оказалось, большинство из немногочисленных посетителей этого блога приходят из рунета, через гугловский поиск картинок. Этот пост специально для тех, кто не говорит по-английски.

Почему пишу по-английски? Потому что живу далеко за пределами исторической Родины, ну и для тренировки, конечно.
Постите комменты на русском, если хотите.
Если кому нужны схемы/файлы - могу поделиться.

Ну и немножко тезисов:

1. Я не аудиофил и не особо тусуюсь на соответствующих форумах, хотя и черпаю оттуда ценные сведения. Я подхожу к делу прагматически - максимум выхлопа за минимальные деньги. Плюс оно обязательно должно быть интересно. Ведь с какого-то момента каждый последующий вложенный доллар уже не приносит удовольствия на целый доллар, и чем дальше - тем меньше.
Я с удовольствием (по возможности) принимаю во внимание советы по совершенствованию акустики помещения, экранирования и т.д., но люди, рассуждающие о направленности проводников или слышимой разнице между воспроизведением loseless c HDD и SSD приводят меня в странное эмоциональное состояние. Но это не страшно, у каждого свой уникальный комплекс заблуждений, в том числе и уменя. И в результате я редко хожу на русскоязычные форумы, поскольку процент максималистов там, к сожалению выше, а я пиписькой не вышел, чтобы меряться ей с Великими Гуру.

2. Я программист, а не электронщик, поэтому могу допускать (и допускаю) глупые косяки. Как электрические, так и механические. Просьба не бить. Если кто-то укажет мне на них, буду крайне благодарен.

3. Я не обладаю идеальным слухом. Не надо спрашивать меня, что звучит лучше, а что хуже - все очень субъективно и слишком сильно зависит от помещения и эмоционального состояния.

4. У меня есть семья, дом и работа, поэтому проекты мои идут крайне неторопливо.


Всем привет!

Sunday, July 6, 2014

One move is worse than two fires

Almost done putting it alltogether.
I got crososver working, BBB with Voyage MPD plays without any drops. The only piece to figure out is volume control (but who neds it?)...

But I have to move to another house. And remodel a kitchen there.
So my exciting project is postponed for several months...

Thursday, March 27, 2014

LCD Screen for Tektronix TDS-544A

Here a story how I replaced a CRT screen with LCD one.

Thanks a lot to the document named "TDS 520B Mod CM Digitizing Oscilloscope Component Service Manual", it reveals some details on scope's guts.

After my lovely CRT screen became a piece of glass, I started to look for alternatives our Chinese brothers can offer.
Not too many.
According to the Service Manual, the scope resolution is 640x480. But the problem is that nowadays it is not very easy to find an affordable LCD with such native resolution. 6.5" 640x480 screens are mostly used in cars and industrial equipment so they are not as cheap as widescreen 800x480 ones. For example, 4:3 screens start from $150 when 16:9 start from $60 with controller.

So I bought AT070TN90 7" 800x480 LCD panel with a controller for less than $70 with shipping from a US seller on eBay.
Luckily controller has 4:3 mode so LCD can display 640x480 picture without any pixel transformation issues. But the bad thing about 4:3 mode is that controller fills unused areas with blue. It sucks. I need to cover it with something. But I have to make a front panel for this screen anyway.

Finally I got new screen working. It took some time to complete. So here what else I needed:

  • anodized aluminium panel (eBay)
  • Radioshack perfboard
  • 12V DC/DC converter (eBay)
  • 1-ft VGA cable (eBay)
  • aluminium bar to make nuts
  • #4-40 tap
  • some wires, screws, and washers
  • epoxy glue
  • nylon PCB stands

AT070TN90

Realtek LCD controller board
Frame was cut from anodized aluminium:

Last test
Radioshack perfboard, 12V DC/DC converter and LCD controller with 1-ft VGA cable
Where to get some power for the LCD
OSD menu buttons. LCD power wires connected to J574 are on the top.
 Finally I put it all together:
The resutl
But for some strange reason some pixels at the bottom of the screen are missing. No way to correct it using OSD menu, but it doesn't affect the signal graph area.

I'm satisfied (but CRT screen was much better). It is a nice feeling when you bring a good device back to life.

Saturday, February 22, 2014

Digital Amplifier: First Run

It is time to turn my first amplifier board on.
Here is my first test setup:
Don't blame me for the power supply, I just scavenged transformer and capacitors from an old Sony tuner. My main concern at the moment is to test if my amplifier can produce any sound but not a sound quality which will be affected by such a power supply for sure. I will use a switching power supply soon, but I have to find a suitable one first.

It took some time to setup my BeagleBone to play music on MiniDSP USB Streamer. I will post details on that later, when I settle it out. Someone would ask me why not to use Raspberry? At the moment it doesn't support USB 2.0 audio devices well.
MiniDSP USB Streamer might be not the best in a family of USB->I2S converters since it doesn't have dedicated low-jitter clocks but it has 8 I2S channels. I'd like to test what is better - to have crossover on 5548 chip or to have it on BBB. I'll by better converter later if 5548 wins.

So what about the sound?
First pictures from the scope scared me...
Look at this (sorry, my digital scope just died):
Text is not readable on this picture but it shows PWM frequency on the output: ~1.25V at 384kHz.
Tried to switch from AD mode to BD ant got things look even worse:
What a disappointment!
But guys from TI forum told me it is expected and not a big deal. Also I found this video saying it is OK. I need to build a simple RC filter to check it out.
So I connected a junk speaker.... And spirits of electronics let me to hear the sound!

Then I found a couple of things I'm not very happy about:
  • Inductors heat up to 50 degrees Celsius even in idle mode (but PWM is on)
  • Electrolites heat up to 43 degrees Celsius. This temperature is far from critical but I'm afraid it would shorten capacitors life.
And a good thing: amplifier can easily output 25W RMS for a while without a real heatsink.

What about sound?
It sounds. My junk speaker did its best and I didn't hear any suspicious clicks, pops or any saturation that would be different from the same speaker powered with analog amp.
To test it in a real life I need to take the following steps:

  • assemble more boards (at least one since my speakers are still two-way)
  • put them on a real heatsink
  • put ceramic capacitors right under electrolytes to reduce ripple current a bit
  • calculate biquad coefficients for crossover
  • write some python code to initialize TAS5548 with crossover coefficients
  • buy a suitable switching power supply with switching frequency far beyond the audio band
still a lot of things to do... Why do people have to sleep?

Friday, February 21, 2014

TEK Scope screen is dead

Bad thing just has happened!
I was watching strange signal shape coming out from my just assembled amplifier board when picture on the scope began to jump and scary pops and clicks started to come from my nice scope.
Thunderbolts inside a scope is not a very good sign, right? So another challenge is going to begin.
To be honest I'm not a fan of scope repairing... But high voltage transformer has died tragically.
Couldn't find a transformer like that on the Internet, found just a couple of LCD kits for almost thousand bucks. Well, I believe I can do it for less because the scope has a VGA output and it should be possible to connect a regular LCD to it.
I'm afraid a new LCD would not have better picture than CRT had, but I don't have a lot of options.

I know some people who have such color Tektronix TDS scopes have dead CRTs, so maybe I can find such a folk and give my CRT to him...

Sunday, February 16, 2014

Soldered: TAS5631B amp

Here is my first amplifier board completed:

I put SMD inductors vertically while they supposed to lay on the PCB:

I have two good reasons for that - first of, it saves a lot of very limited space and the second - if the warm up it would help them to cool down (questionable, but makes me feel better).

Looks fine. Especially having in mind it is my first SMD project. Let's connect all my stuff together and check if it is able to produce any sound...


Wednesday, February 12, 2014

TAS5548 PWM Modulator board

I started with PWM modulator. What is the reason of soldering the whole amplifier board if PWM doesn't work?
And even more, my setup requires only one PWM modulator board and I have ten available. Plus 5548 has its pins on two sides only which probably can make the soldering a little bit easier.

Well, it was not that scary,
I'm not a soldering guru and I was scared about SMD components, especially chips with 0.5 and 0.6 mm pitch. But it turned out to be not such a big deal. Thanks to Steve from EEVBlog for his video tips on how to solder smd chips.
TAS5548
Not bad for the first try
The only thing I really struggled with is crystal oscillator. It has its pads underneath and I couldn't place it well. But it works and I don't want to re-solder it.

Here is my test setup:
BeagleBone Black + MiniDSP USB Streamer + my PWM modulator:
It is a whole different story how to setup BBB...
Adafruit has python libraries to drive I2C bus so here my first python program ever:
import Adafruit_BBIO.GPIO as GPIO
import Adafruit_BBIO.PWM as PWM
from Adafruit_I2C import Adafruit_I2C
 
def i2cPrint32(x): 
 bytes = i2c.readList(x, 4)
 print "%X %X %X %X" % (bytes[0],bytes[1],bytes[2],bytes[3])

i2c = Adafruit_I2C(0x1A) # see notes about I2C address below

print "5548: 0x%x = %X" % (0x01, i2c.readU8(0x01))

### UnMute
print "============="
print "CTRL:"
ctrl = i2c.readU8(0x03)
ctrl = ctrl & ~0x10
print hex(ctrl)
i2c.write8(0x03, ctrl)


### VOLUME ###
print "Master Volume:"
volume = [0,0,0,0xAF]
x = 0xD9
i2c.writeList(x, volume)
bytes = i2c.readList(x, 4)
print "%X %X" % (bytes[2], bytes[3])
it umutes the modulator and sets some non-zero volume.
And here is the output:
5548: 0x1 = 4
=============
CTRL:
0xa0
Master Volume:
0 AF

After unmute I can see 50/50 PWM duty cycle:
And when input signal is applied:
So looks like it works. On first try!

But there was a caveat with 5548 I2C addresses. My BeagleBone didn't want to work with 5548 chip at the address from its datasheet - 0x34/0x36 (depending on jumper). Luckily Linux has a command to scan I2C buses so my device was found in a couple of minutes (googling):
root@arm:~/py# i2cdetect -r 1
WARNING! This program can confuse your I2C bus, cause data loss and worse!
I will probe file /dev/i2c-1 using read byte commands.
I will probe address range 0x03-0x77.
Continue? [Y/n] y
     0  1  2  3  4  5  6  7  8  9  a  b  c  d  e  f
00:          -- -- -- -- -- -- -- -- -- -- -- -- -- 
10: -- -- -- -- -- -- -- -- -- -- 1a -- -- -- -- -- 
20: -- -- -- -- -- -- -- -- -- -- -- -- -- -- -- -- 
30: -- -- -- -- -- -- -- -- -- -- -- -- -- -- -- -- 
40: -- -- -- -- -- -- -- -- -- -- -- -- -- -- -- -- 
50: -- -- -- -- UU UU UU UU -- -- -- -- -- -- -- -- 
60: -- -- -- -- -- -- -- -- -- -- -- -- -- -- -- -- 
70: -- -- -- -- -- -- -- -- 
I put this address 0x1A into my python script and voila!

So it's time to build an amplifier board.

Sunday, February 2, 2014

PCBs arrived

Oh my! They are gorgeous!
I must think this way because they are my first SMD-PCB-babies. And I have ten of them, so I have enough spare ones if I mess one up.


Right away I found a wrong label: "5431 Amp v.1.0". OK, let's put it this way - "it was made intentionally to confuse enemies".